Step 4: Quick Setup
4.1. Once logged in, follow the Quick Setup Wizard.
4.2. Select your region and time zone.
4.3. Choose your internet connection type (DHCP, Static IP, PPPoE).
4.4. If required, enter the necessary information provided by your Internet Service Provider (ISP).
4.5. Click “Next” to apply the settings.
Step 5:
Wireless Settings Configuration
5.1. Navigate to the Wireless Settings section.
5.2. Set up your Wi-Fi network name (SSID) and password. Ensure you choose a strong password to secure your network.
5.3. Optionally, enable WPA/WPA2 encryption for enhanced security.
5.4. Click “Save” or “Apply” to confirm the changes.
Step 6:
Advanced Configuration (Optional)
6.1. Explore additional features such as Guest Network, Parental Controls, and Quality of Service (QoS) for advanced customization.
6.2. Configure port forwarding or virtual server settings for specific applications if needed.
Step 7: Firmware Update
7.1. Check for firmware updates in the System Tools or Administration section of the router interface.
7.2. If an update is available, download and install it to ensure your router has the latest security patches and features.
Step 8:
Final Checks
8.1. Disconnect the Ethernet cable from your computer if you used it for setup.
8.2. Reconnect your devices to the newly configured Wi-Fi network using the SSID and password you set up.
8.3. Test your internet connection to ensure everything is working correctly.
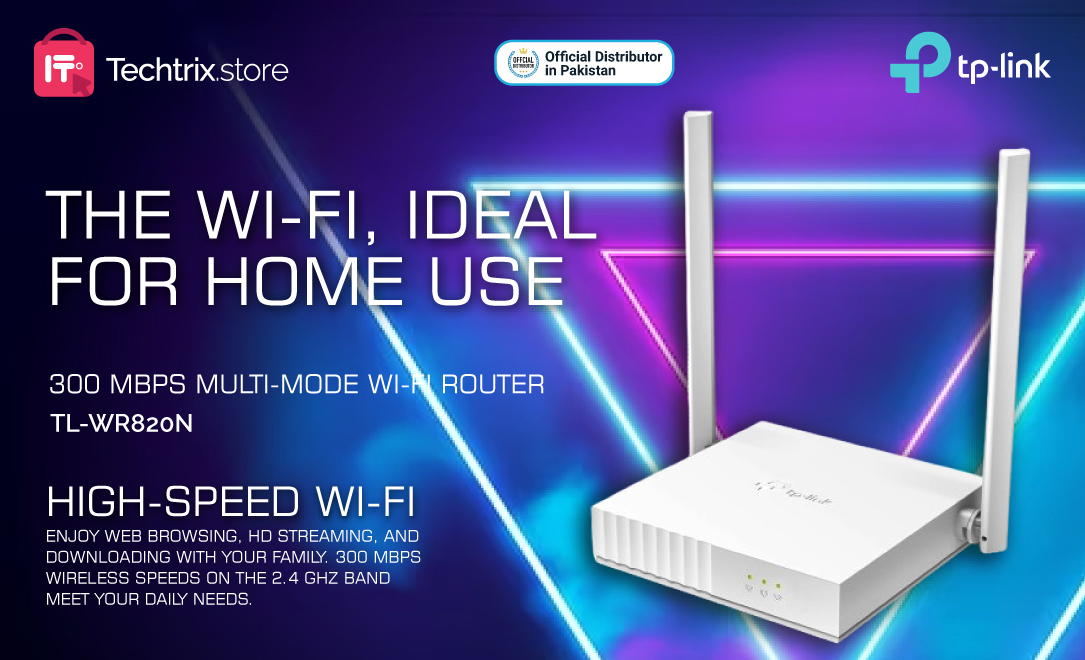
Congratulations! You have successfully installed and configured your TP-Link TL-WR820N N300 Wi-Fi Router. Enjoy fast and reliable Wi-Fi connectivity for all your devices.
For any further assistance or troubleshooting, refer to the user manual provided with the router or contact Techtrix System, the TP-Link distributor in Pakistan and tp-link distributor in Lahore, or visit their website for support resources.


Comments are closed