
Cisco Network Devices for Versatile Small and Large Businesses in Pakistan
We all know that the right Networking Devices are critical for business….


We all know that the right Networking Devices are critical for business….
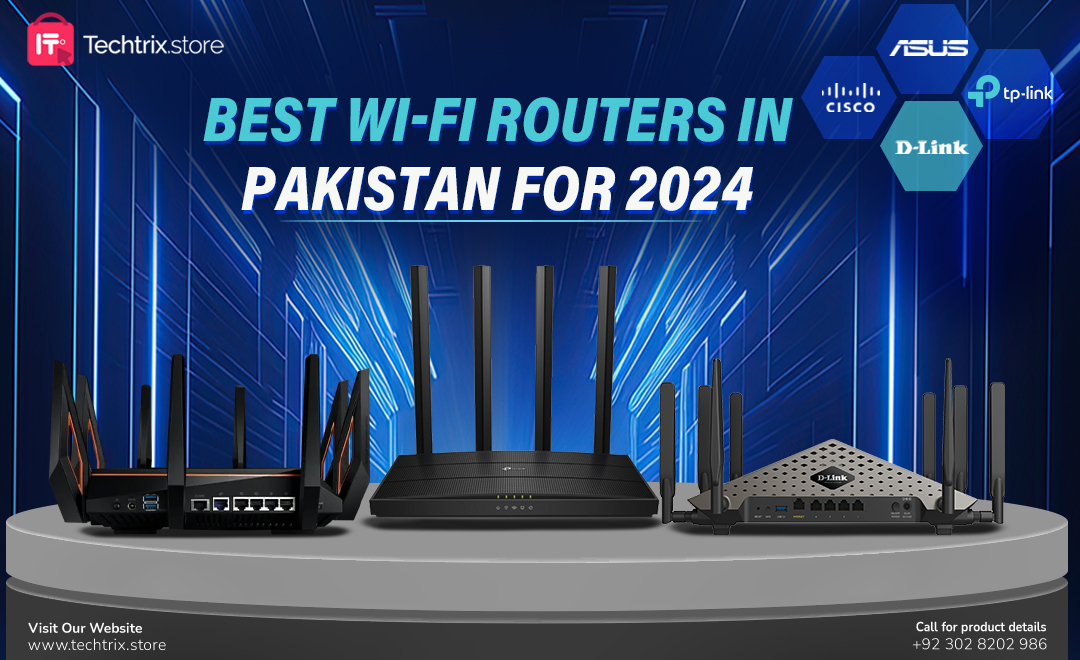
Best WiFi Routers in Pakistan for 2024 In Pakistan, a reliable and…

Customers want a Connection that lasts, and in Metropolitan cities, Connectivity needs…

Introduction: Are you looking to set up your TP-Link TL-WR820N N300 Wi-Fi…
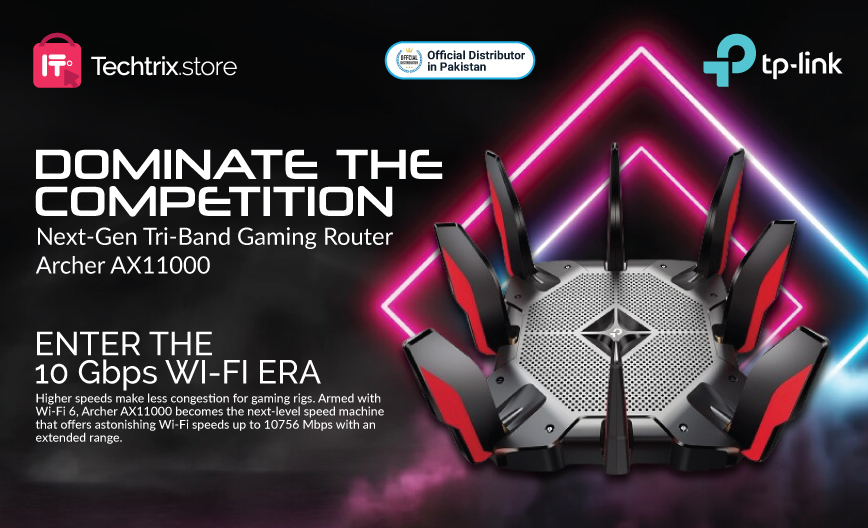
Introduction: Welcome to the installation guide for the TP-Link Archer AX11000 Tri-Band…
Comments are closed